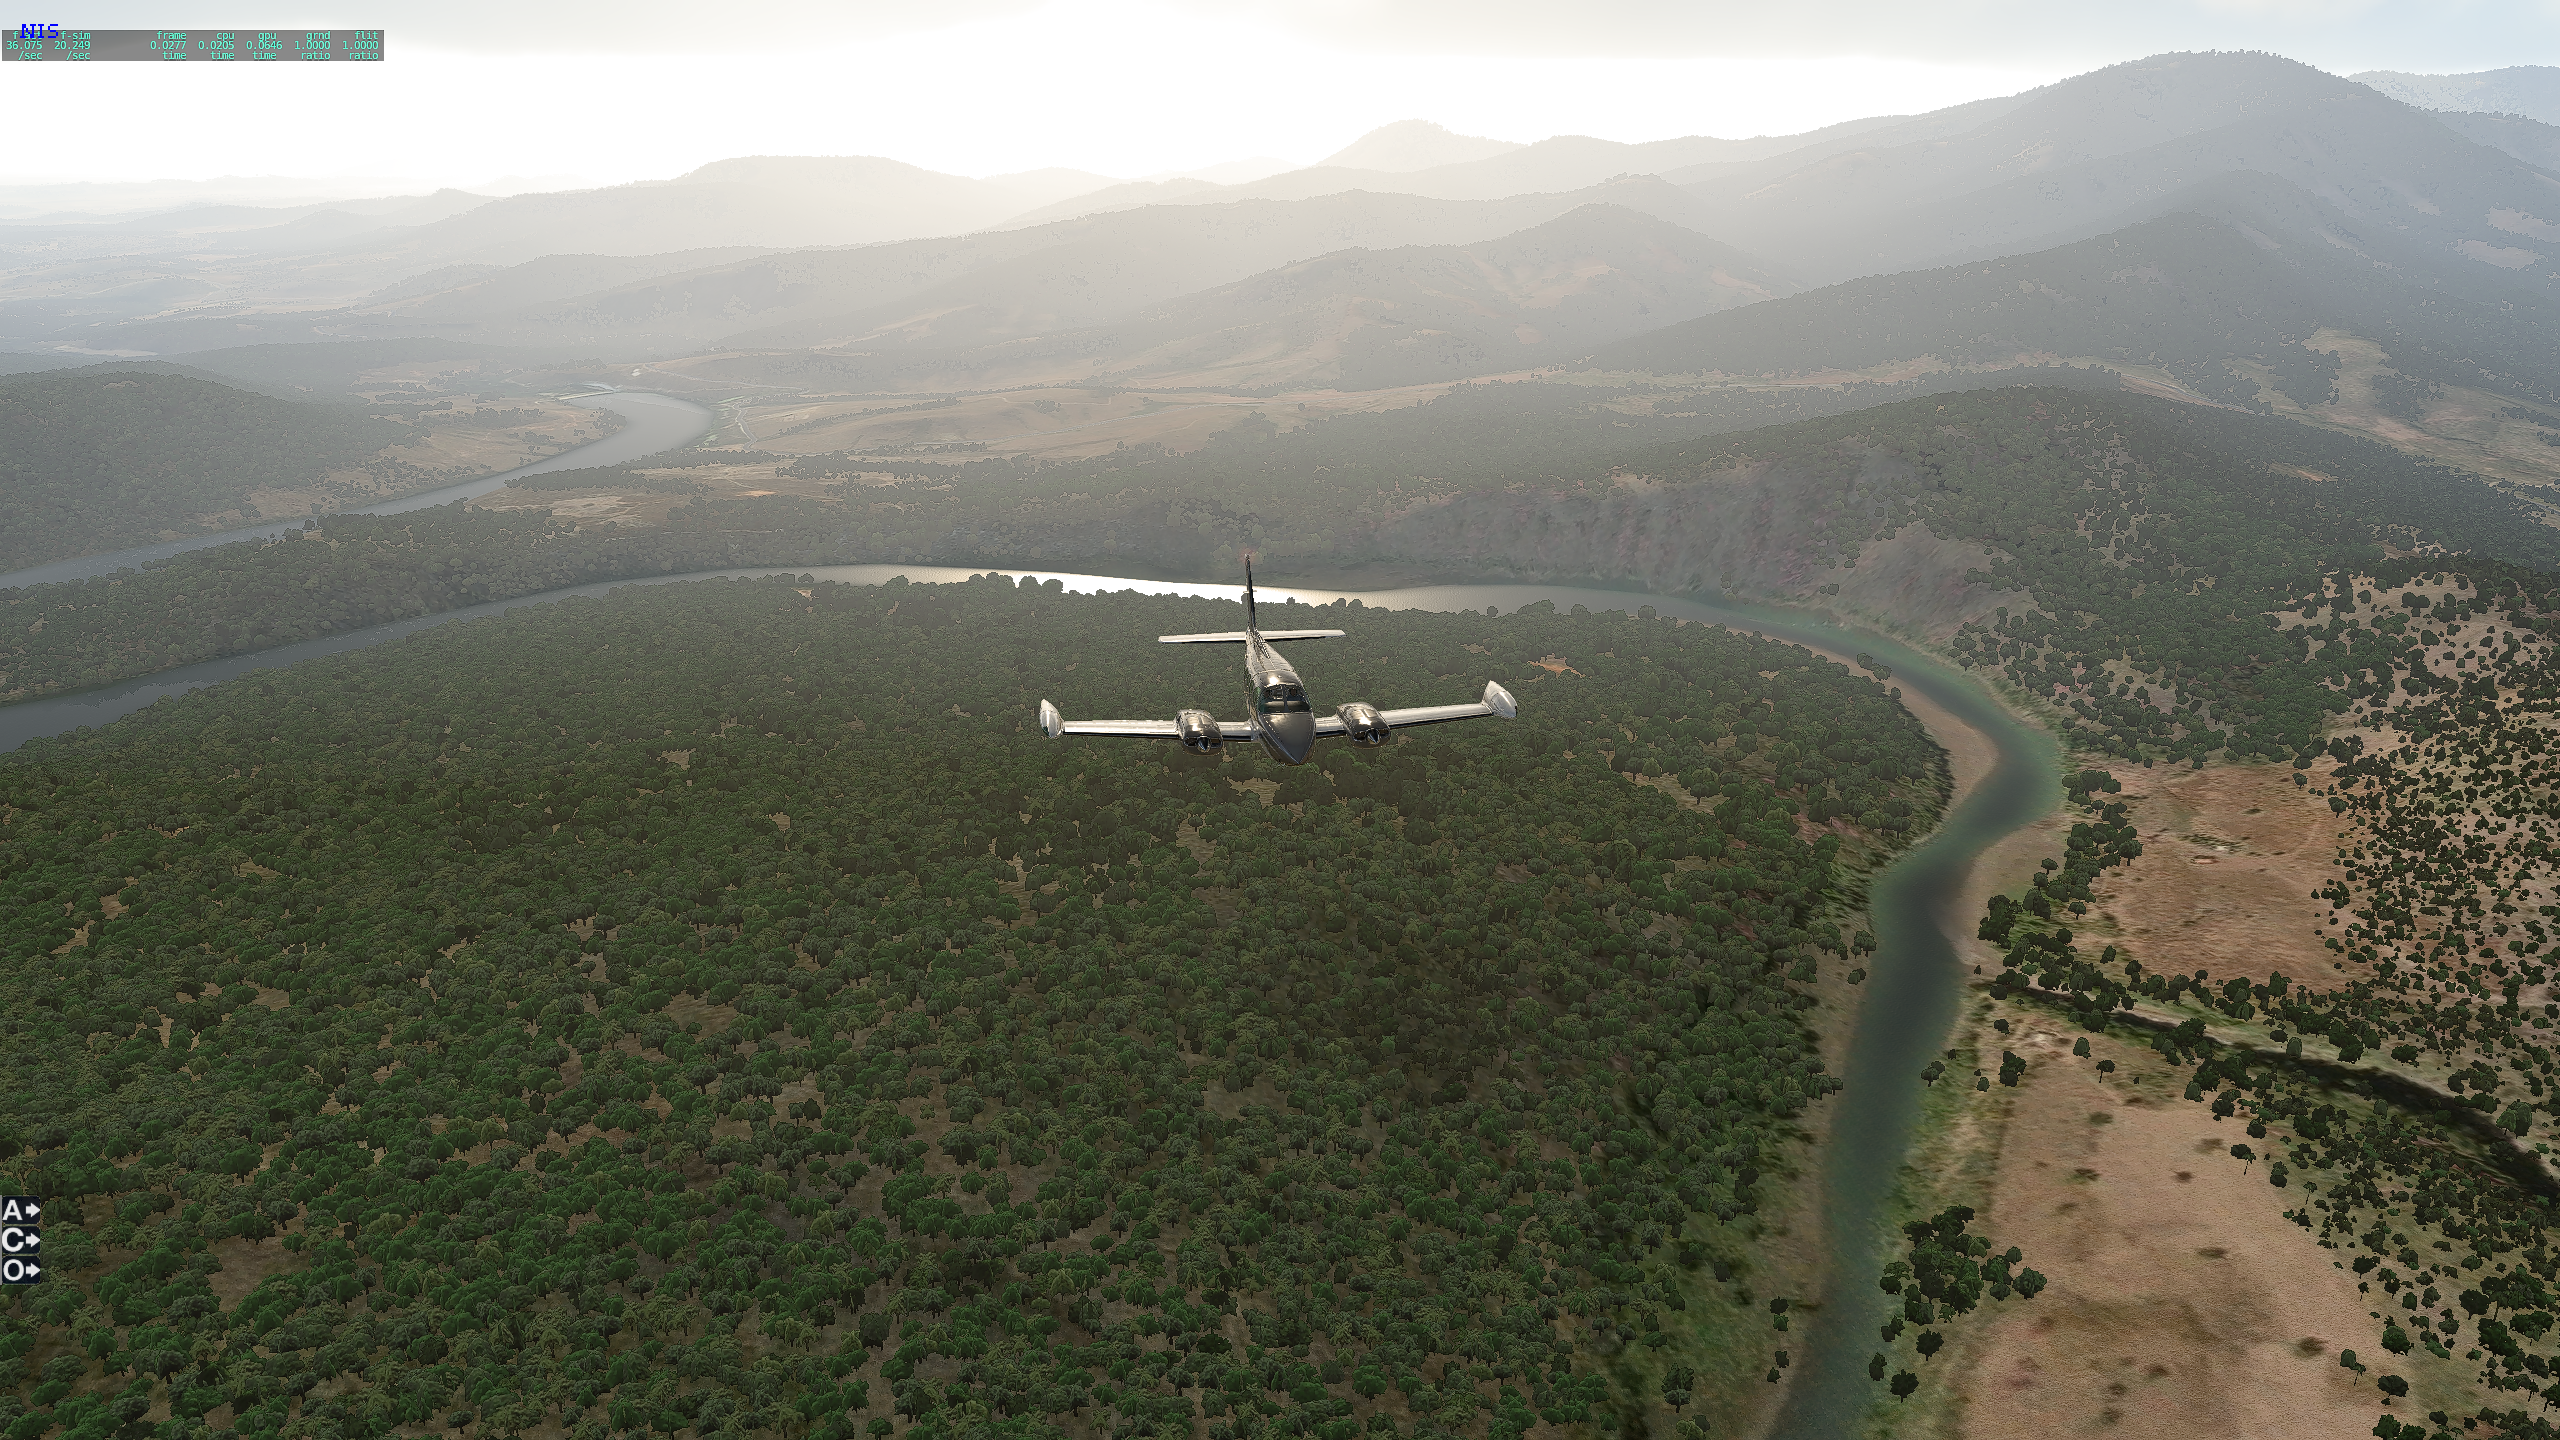
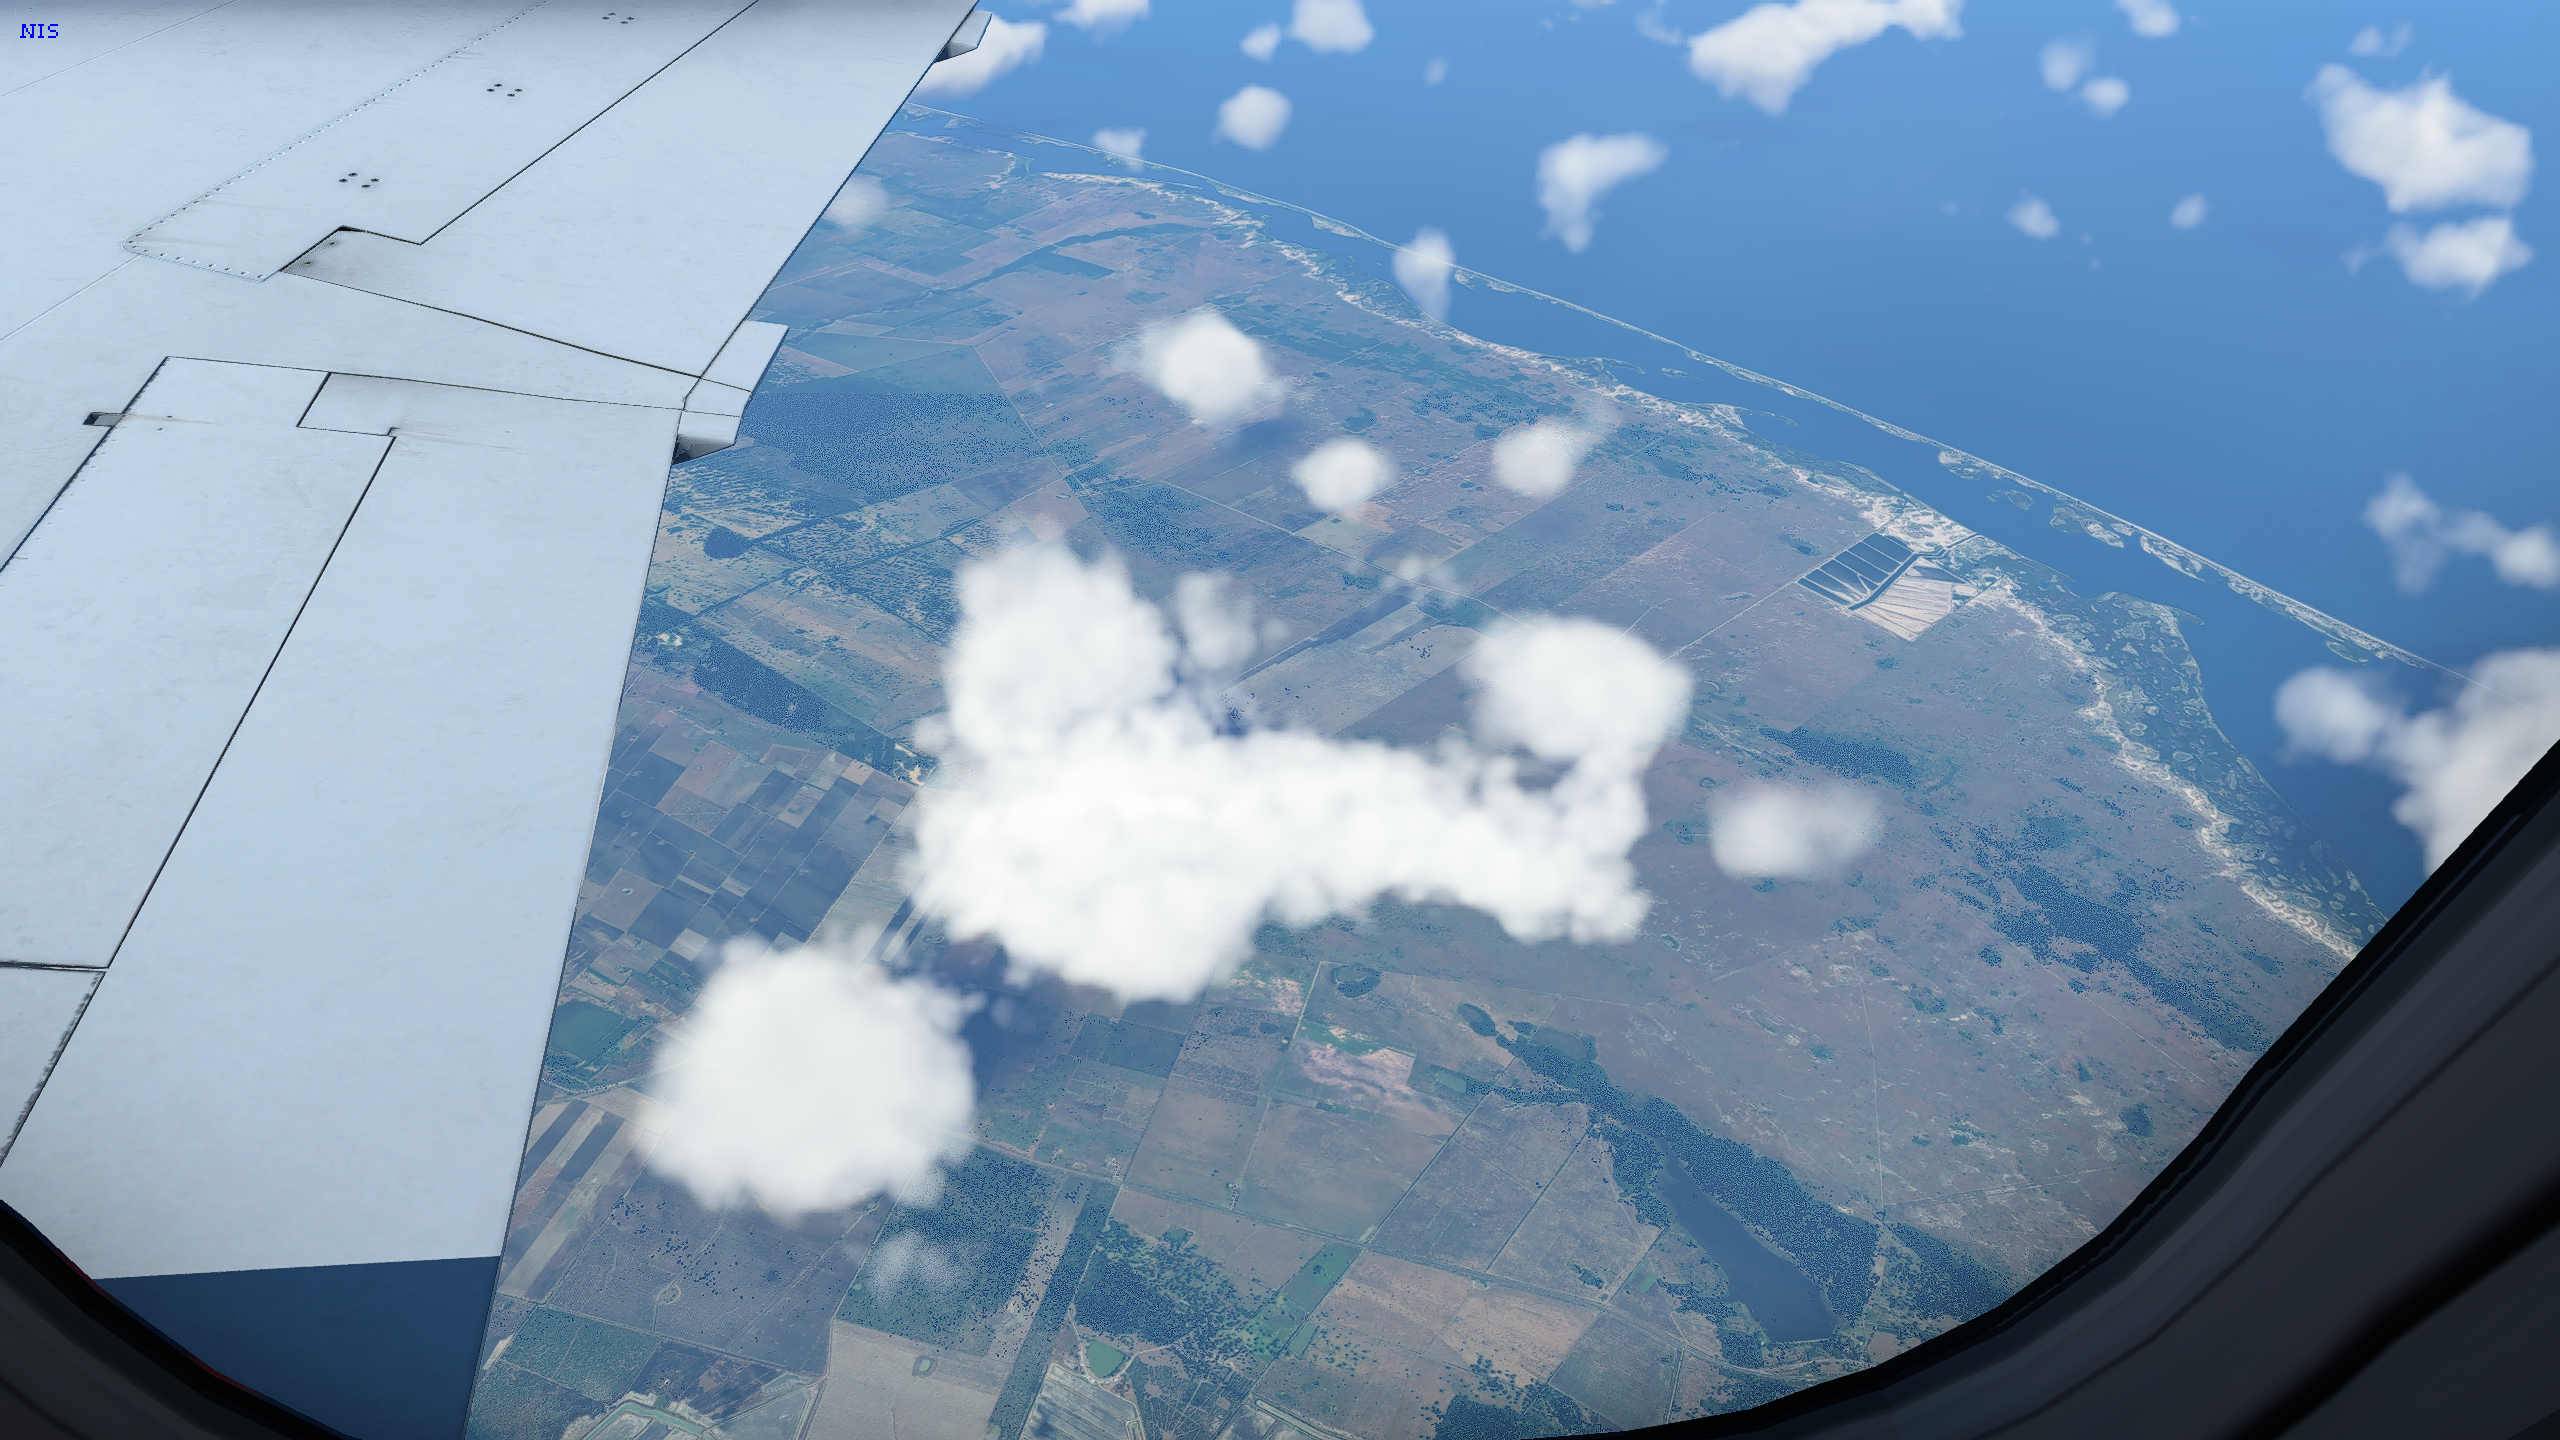
TotalMexico is compatible with XP12
After the successful release of the XP12 open beta, we are proud to announce that TotalMexico is fully compatible with XP12 and you can migrate your TotalMexico XP11 installation to XP12 in a few simple steps.
Migrating TotalMexico from XP11 to XP12
- Open XP11 Custom Scenery folder.
- Select and copy all the TotalMexico Items in this folder
- Open XP12 Custom Scenery Folder.
- Paste all the TotalMexico items from XP11
- Copy the XP11 scenery packs.ini file to XP12 Custom Scenery folder. Overwrite the file.
- Open the TotalMexico main app.
- Log in and connect to the server
- Change your Xplane folder to the new XP12 folder
- Close the main app
- Open TotalMexico EcoSystem Manager
- Make sure that your Xplane Folder is pointing to your XP12 folder installation
- Click the “First Time Installation” button.
- Wait for the installation to finish.
- Copy your OpenScenery X library from your XP11 Custom Scenery folder to the XP12 Custom Scenery folder.
- Run XP12.
Important notice.
3D trees
TotalMexico is 100% compatible with Xplane 12, thus it does not provide the new 3d trees engine 100%. You will see mostly 2D trees (the same trees and coverage you experienced in Xplane 11), and some of them will be 3D trees.
The complexity to reproduce the 3D trees claims a totally new development to cover the full country of Mexico. We are working in this development to provide you the best VFR experience when flying over the Mexican Country.
The 3D trees will be an extra plugin and a different product to enhance TotalMexico.

If you are installing TotalMexico for the first time, you just need to install it for Xplane 12 the same you would install it for Xplane 11.


